This Page will show the basics of creating a SSO conection
You should have been provided a List of things before you have started
{Host}{Client ID}{Secret}
The Information should have come from a setup email from the web-support team you can also find how to find the host as well as the other default options on our support page here
1. Start By Opening up Postman and creating a new Collection and naming it
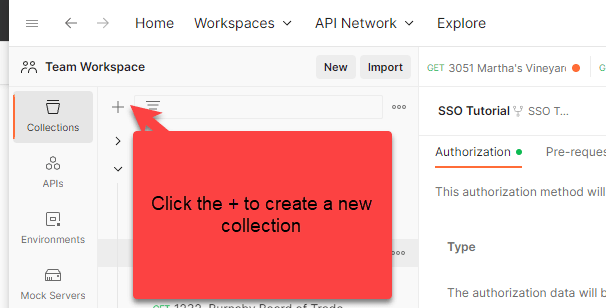
2. Go to the Authorization Tab and Change the Type to OAuth 2.0
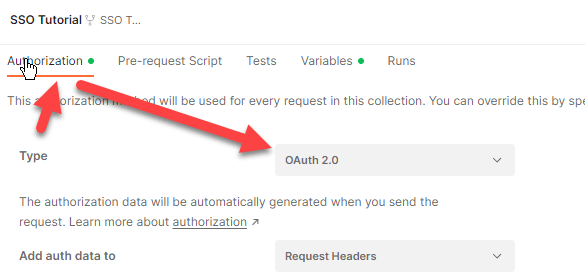
3. Scroll down to the Configure New Token Area on the same Authorization Tab and Check Authorize using the Browser.
Then we need to setup the following Options Replacing the content between {} with full content.
For example here is what the Auth URL looks like in a Test Database
https://testdatabase.growthzoneapp.com/oauth/authorize
Auth URL:
{Host}/oauth/authorizeAccess Token URL:
{Host}/oauth/tokenClient ID:
{Client ID}Client Secret:
{Secret}Scope:
"email openid profile offline_access"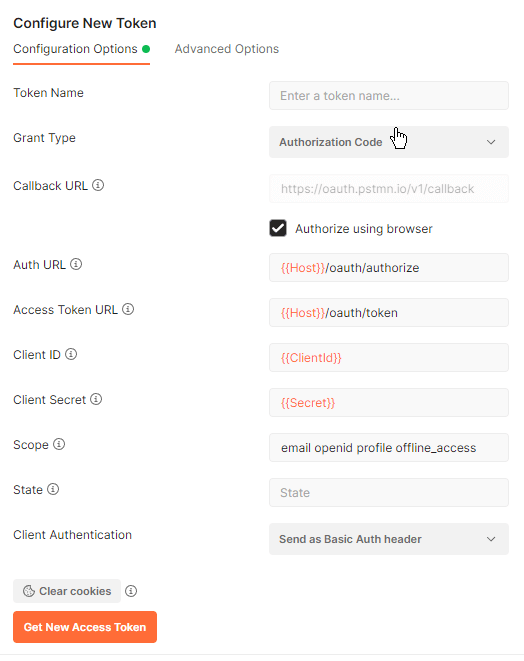
4. Click the Get New Access Token Button
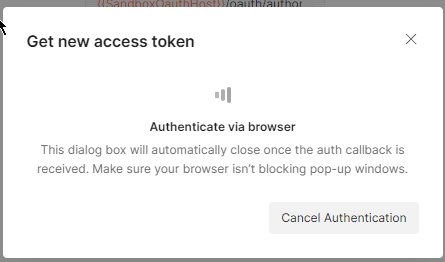
A Get new access token popup should come up in Postman
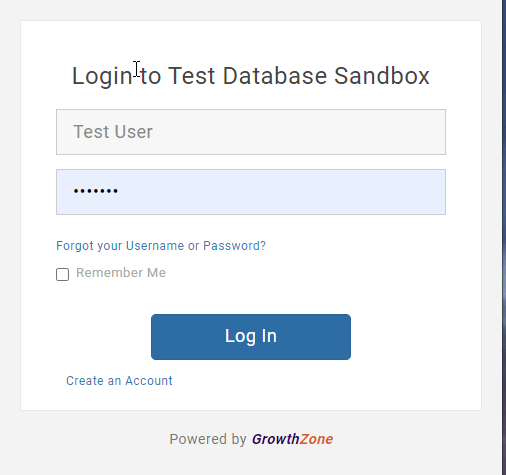
5. A browser window should popup in your primary browser, you should enter a valid GrowthZone InfoHub login and password if you need a test one we have information on creating one here
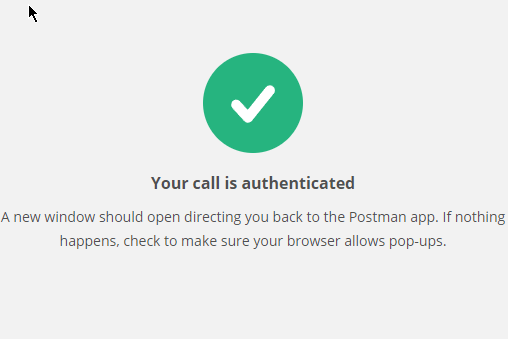
6. If the Username and password are correct then you should get a screen Saying the call is authenticated and a popup asking you to Open Postman, Go ahead an open it.
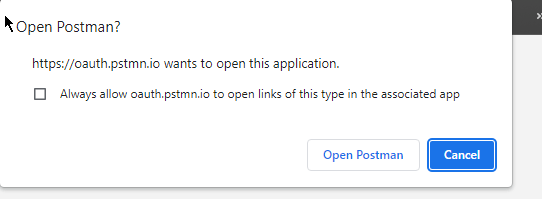
7. Go to the Current Token Area and make sure its filled in, you probably want to make sure that Auto-refresh token is enabled.
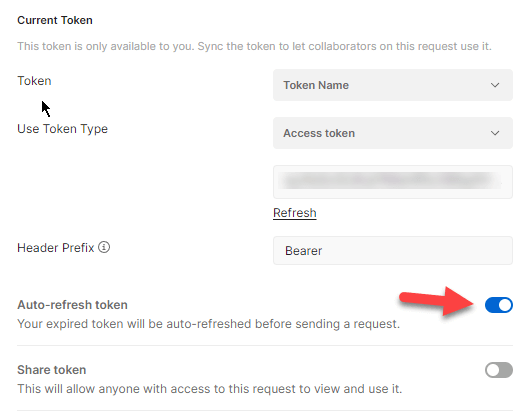
Congratulations! You have successfully Logged in via SSO
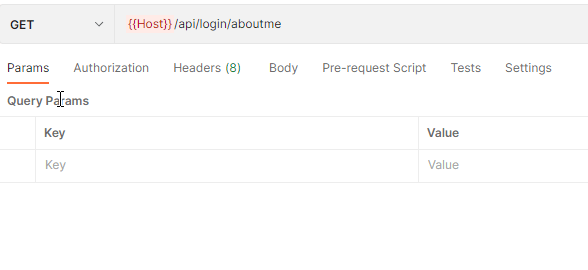
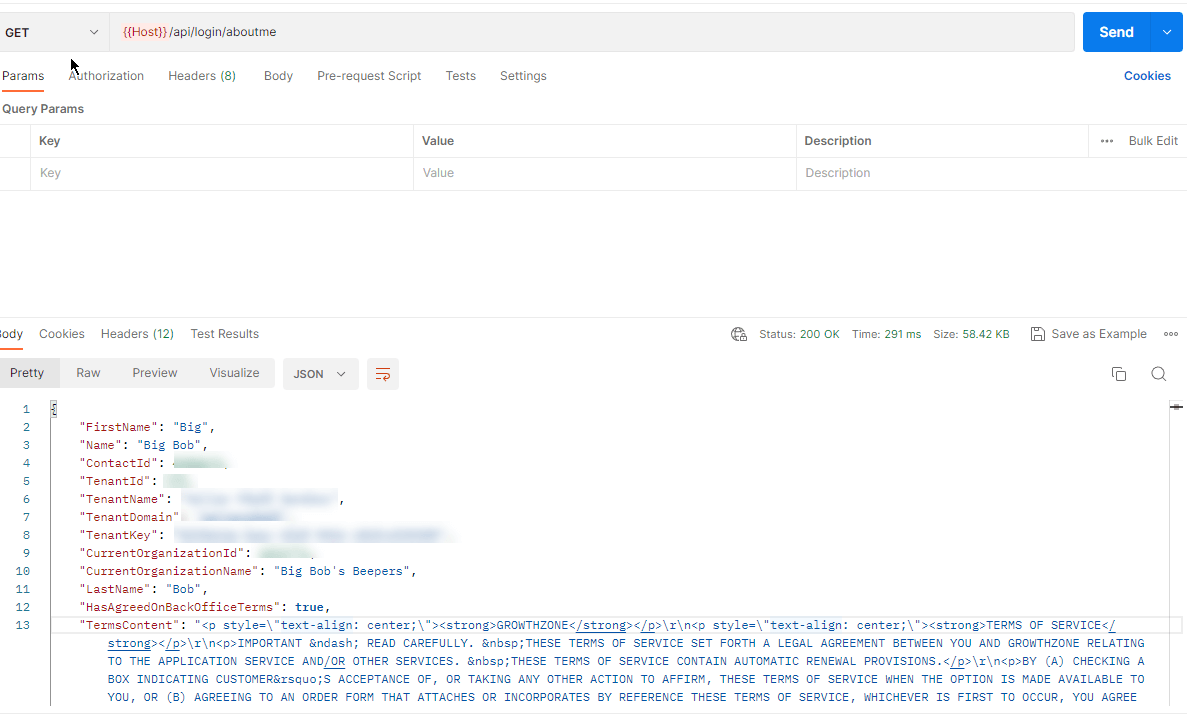
You can use the connection to make some calls to pull up information about the user now:
1. We are going to call the
{{Host}}/api/login/aboutme
2. You should get the data in the body
